2 HTML
Hypertext Markup Language (HTML) is the standard markup language for documents designed to be displayed in a web browser. Eventually we will learn how to augment HTML using Cascading Style Sheets (CSS) and the JavaScript (JS) scripting language, especially with the D3.js JavaScript library.
The HTML/CSS/JS trio is a powerful combination for creating web pages. Web browsers receive HTML documents from a web server or from local storage and render the documents into multimedia web pages.
- HTML describes the structure of a web page semantically,
- CSS controls how the various components of the page are displayed (colors, fonts, sizes, etc.), and
- JavaScript gives us programmatic control of the content and formatting of our pages.
2.1 A minimal HTML page
Let’s create our first web page. We’ll start with a minimal HTML file.
2.1.1 Atom HTML stubs
Create a new file in Atom and name it
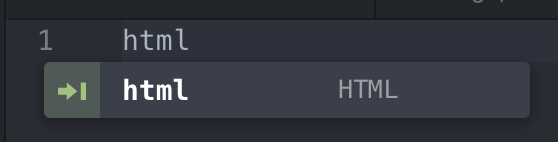
snow-person.html. (Naming it with a.htmlextension is necessary to Atom knows you are working with an HTML file.)One the first line type
htmland then pause. You should see something like this:
Click on the line below what you typed or just hit return, and Atom will create a small HTML file for you that looks like this:
Congratulations! You have just created your first web page, or at least the first file that can be served as a web page.
2.1.2 What’s going on here?
Here’s an explanation of what is going on in this minimal example.
The first line declares that this will be an HTML file.
The rest of the file is organized into structural chunks which begin and end with HTML tags. The tags in the file above are of three types:
- opening tags:
<html>,<head>,<body> - closing tags:
</html>,</head>,</body> - self-closing tags:
<meta >(Note: You will some times see this as<meta />, but that extra slash in not required for HTML. It will be required for SVG.)
- opening tags:
Everything between an opening tag and its paired closing tag (or within a self-closing tag) belongs to a structural unit of the document. These units are called elements. So in this file, the document element contains an HTML element containing a head element and body element. The head element contains a meta element and a title element.
2.1.3 The Document Object Model (DOM)
We might represent our simple HTML document as follows
document
  html
    head
      meta
      title
    body
This representation as a hiearchy of nested elements is called the document object model or DOM. The DOM is the data representation of the objects that comprise the structure and content of a document on the web. The tags of HTML are one way to describe the DOM. JavaScript will have another way to read, write, and edit these same elements. In principle, we could construct the entire web page in JavaScript, but it is much easier to do some parts directly in HTML and other parts via JavaScript, and it is important to understand how HTML (or at least the DOM) works before learning to write JavaScript code to manipulate the DOM.
2.2 Viewing our web page
To view a simple HTML file, all we need is a browser, like Chrome or Firefox. For web pages built using external CSS and JavaScript files, all the files will need to be hosted on a web server that knows how to put all the pieces together and send them to the browser. More on that in just a moment.
For now, we view our file by opening it in a browser.
Open your file in a Chrome.1
You can do this by navigating to the file in a file manager or by typing a URL that begins
Since there is no content on our page currently, all you will see is a blank page.file://followed by that path to your file.
2.3 Adding content to an HTML file
Now let’s add content. We are going to create a web page describing a snow person. You may imagine a snow person you have made, or one you would like to make, or any snow person you like. That’s up to you.
At each step, if you save your file and refresh your browser page, you can see the results.
2.3.1 Adding meta data to the document head
The head element is used to keep track of meta data about the web page. For example, let’s add a title to the page.
Insert
<title>My Snow Person</title>between
<head>and</head>. Now refresh the page. You still won’t see anything on the web page, but your browswer will likely display the title somewhere else.Modify the title so it identifies who you are.
Change “My” to something less generic that identifies you (and your partner).
There are other things that can be added to the head of the HTML document, but for now, let’s move on to the body so we can see something on our page.
Note: HTML5 doesn’t actually require the <head> ... </head> tags, and many people omit them.
(The <html>...</html> and <body>...</body> tags are also optional, but omitting them can
cause problems with some browsers or with some software, so it is good to always include those tags.)
2.3.2 Adding content to the body
Let’s create a web page that describes your snow person.
Add a visible title by inserting an
<H1>tag.Insert
<h1>Your Title Text</h1>into the body of your HTML file, replacingYour Title Textwith a much better title. (It could match the title you put in the header, but it doesn’t have to.) Refresh the page and you should be able to see some large text.<h1>is for first level headers.Add two second-level headers (using
<H2>)Your result should be something like this.
<h1>My Snow Person</h1>
<h2>Best features of my snow person</h2>
<h2>Worst features of my snow person</h2>
Add some text to one of the sections using a
<p>tag.is short for paragraph. Don’t forget to put the closing
</p>at the end of your paragraph. Feel free to add additional paragraphs if you have lot’s to say about your snow person.Now add some additional headers. You can use
<h1>through<h6>to get six different levels of header. Feel free to add paragraphs of text in any of your newly created sections.
2.3.3 Why is my page so ugly?
We have a web page an can add content to it, but it looks like something straight out of the 1990’s. What you are getting is the default way of rendering headers and paragraphs. Soon we will learn how to use CSS (cascading style sheets) to improve the look. HTML and CSS divide up the work: HTML describes the structure and content; CSS describes how that information should be displayed.
2.4 Tag attributes
Tags may have attributes. The general form of the sytax for this is
<tag attr1 = "value1", attr2 = "value2", ...> content </tag>Note: HTML tag names and attribute names are not case sensitive (but it is generally a good idea to consistently use ALL CAPS or all lowercase). Attribute values, on the other hand, are case sensitive.
2.4.1 Global Attributes
Global attributes are attributes common to all HTML elements; they can be used
on all elements, though they may have no effect on some elements. You can find a
list of global attributes at MDN.
Two important global attributes are id and class.
idvalues should be unique and are used to identify specific elements of the documentclassvalues need not be unique, and are used to identify groups of elements
2.4.2 Tag-specific attriutes
In addition to the global attributes, tags may have attributes special to their tag type.
The <p> tag, for example, has an align attribute that controls the justification of the
text in the paragraph.
Examples:
* `<p align = "right">Some text</p>`
* `<p align = "center">Some text</p>`- Reformat some of your paragraphs to make them center or right justified.
2.4.3 User-defined attributes
You may invent your own attributes as well. By default, these attributes won’t do anything to the rendered we page, but we learn later how to use these attributes with CSS and JS to control how the page looks and/or behaves.
2.6 Viewing the DOM
In addition to the usual view that your browser shows you, you can view the DOM structure of the page.
- Use View > Developer > Inspect Elements to have Chrome show you the DOM structure of your page (or any other page you might visit).
2.6.1 The box model
You will notice in the Inspect Elements view that when you hover over a portion of a website, a portion of the website is highlighted like this:
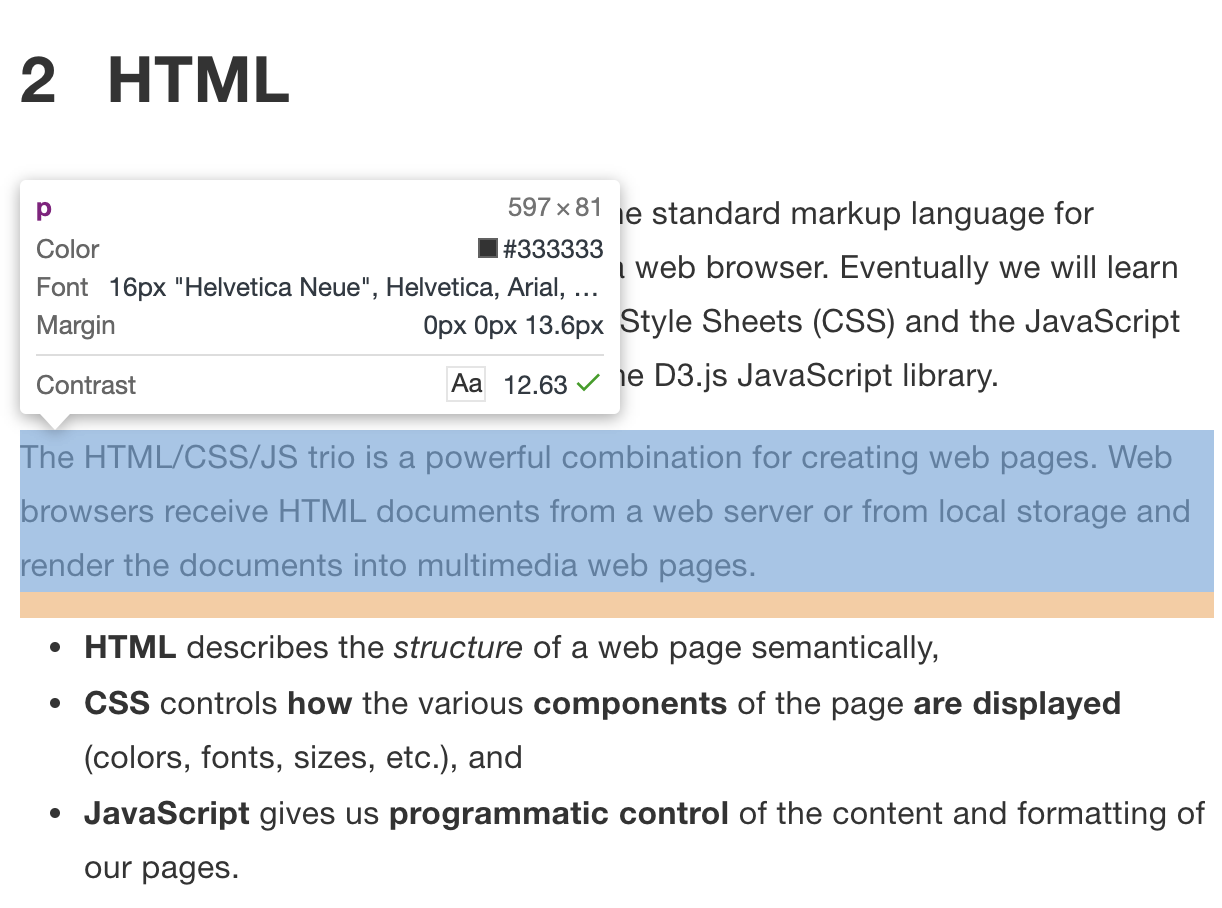
In the example above we see that the element being highlighted is a p (paragraph) element, and we see some information about how that element is being displayed (color, font, margins, etc.). The important thing to notice is that the hightlighted box extend the full width of the page, even though the text in the last line does not. That is because p elements are block-level element. Subsequent elements will begin below.
Other elements are inline elements, like this:
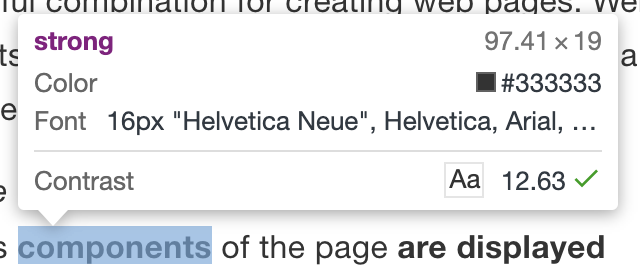
They are called inline elements because the next element will begin to the right. These elements can be placed next to each other in a line.
Browsers render HTML (more precisely, they render the DOM) using this box model. Everything is one of these two types of boxes. Importantly, divs are block-level boxes and spans are inline (by deafault).
2.7 Resources
This will work for now, but soon we will need to serve our pages from a web server of some sort.↩