5 Git and GitHub
5.1 What are Git and GitHub? The big picture
5.1.1 Git
By far, the most widely used modern version control system in the world today is Git. Git is a mature, actively maintained open source project originally developed in 2005 by Linus Torvalds, the famous creator of the Linux operating system kernel. A staggering number of software projects rely on Git for version control, including commercial projects as well as open source. Developers who have worked with Git are well represented in the pool of available software development talent and it works well on a wide range of operating systems and IDEs (Integrated Development Environments).
Git works by saving snapshots of a project over time. This allows you to return to any of these snapshots at any later point (should you want to recover from an unfortunate mistake) and to see how your project has evolved over time (to see how you got into the situation you are now in, for example). This snapshot analogy work pretty well, but the vocabulary used by git is different.
a commit (noun): a snapshot. Each commit records the contents of every file in the project (but not files that have not been added to the project!)
to commit (verb): to take take a snapshot. Just like you need to push the button on your camera to take a photo, you need to actively trigger a commit to be recorded.
commit message: This is like writing on the back of a photo so you can remember why you took it, who is in it, who took it, etc. The system will take care of giving each snapshot a unique identifier and recording the date and who did the commit. You will add a brief text description that can help you remember what was going on at the time.

to stage (verb): to add files to a future commit. Just like when you take a photo of some friends, before you push the shutter you need to figure out which friends will be in the photo and get them arranged so you can see everyone. This is “staging” your photo. In the same way, in git, we stage the files that will be involved in the next commit.
Any unstaged files, even if they have changed locally, will be considered unchanged for the purposes of the commit, but they will still be in the snapshot.
a repository: a shoe box of snapshots. A repository contains all of the commits you have made.
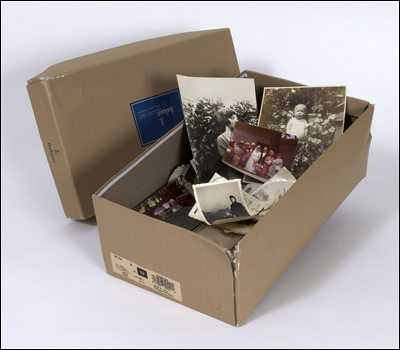
You can return to one of these commits at any time in the future (just like you can grab an old photo and look at it). Furthermore, there are tools to help you see what has changed between two commits. (This is like comparing to photos and looking to see how one of the people in the photos has changed over time.)
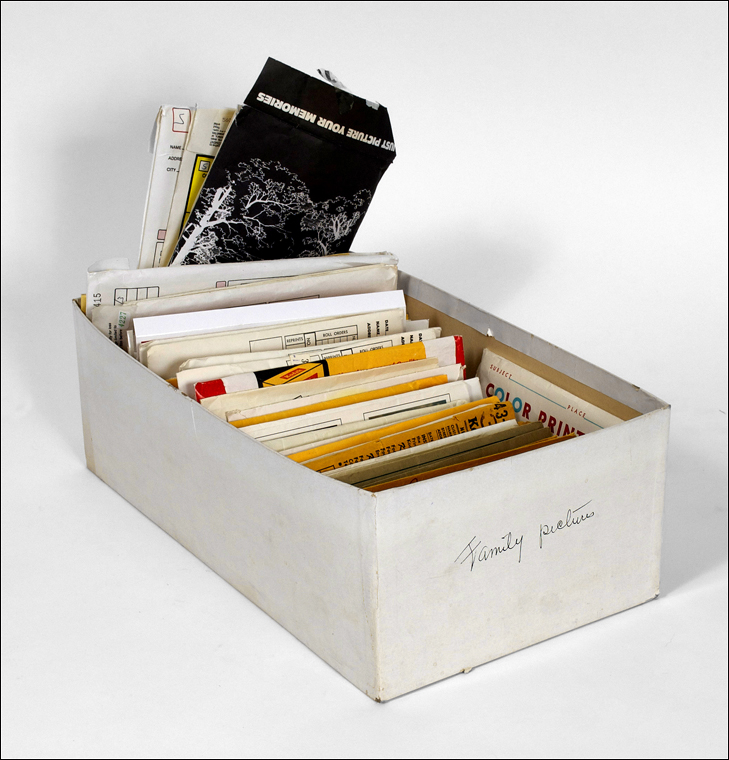
A repository is a bit more organized than a typical shoebox full of photos, however. So perhaps this is a better picture.
cloning a repository: Cloning a repository is making a copy of every snapshot in the shoe box and putting the copies in a new shoe box in a new location. This is what makes it possible for you to share a project with someone else.
But what if you each continue to work on things and make changes? Suppose Alice and Bob each have a clone of the same repository. They each do some work, and they each make some commits. Now Alice and Bob have shoe boxes (repositories) that mostly match, but the most recent snapshots (commits) are different. Since they each have their own shoe box, there is no (direct) communication between the commits that Alice makes and the commits that Bob makes.
Enter GitHub.
5.1.2 GitHub
GitHub is an example of a remote repository. It’s a repository just like the one Alice has and the one Bob has, but it is in a place that each of them can access. Suppose Alice has made a few commits and she wants Bob to have them. She doesn’t have access to Bob’s computer, so there is a two step process:
Alice pushes her commits to GitHub.
This copies all of her most recent commits (snapshots) and adds them to the remote repository (shoebox).
Bob pulls commits from GitHub.
This sends copies of the new commits (snapshots) on GitHub (including the ones that Alice just pushed) to Bob’s repository (shoebox).
Of course, Bob can push his changes and Alice can do a pull to get those. At that point, they will again have identical repositories (shoe boxes).
So the big three commands for using github are
- commit: make a LOCAL snapshot and put it in the LOCAL shoe box
- push: make copies of the most recent LOCAL snapshots and put them into a REMOTE shoe box.
- pull: make copies of the most recent REMOTE snapshots and put them into the LOCAL shoe box.
Actually, the right order to think about these is
- stage: tag files to be included in the commit
- commit: make a LOCAL snapshot and put it in the LOCAL shoe box
- pull: make copies of the most recent REMOTE snapshots and put them into the LOCAL shoe box.
- push: make copies of the most recent LOCAL snapshots and put them into a REMOTE shoe box.
It’s always a good idea to pull before pushing to make sure that the work you are doing isn’t conflicting with or incompatible with other things on GitHub. After checking things out locally to make sure everything works with the newly received commits from GitHub, we can push our changes to the remote repository.
5.1.3 Managing conflict
Conflicts can arise from the pushing and pulling. Suppose Alice and Bob each make edits to file.txt. Alice
commits her changes and pushes them to GitHub. Bob commits his changes and does a pull. This brings Alice’s
changes to file.txt to his file system.
If the changes are in a different part of the file, git will usually just insert those changes. At this point, Bob’s copy of the file will have both his and Alice’s edits.
If the edits appear to conflict, git will issue a merge conflict warning and require Bob to manually decide what to do about them. Once he has done this, he will make a new commit – including whichever portions of Alice’s and his work seems appropriate. At that point he can do a push.
Managing conflict is not fun. The best strategy is to avoid conflict when possible, and in any case to keep conflict small and resolve it quickly when it arises. Some advice:
Communicate with your collaborators.
Avoiding conflicts is the best strategy. If you know who is working on what and stay out of each other’s way, you can avoid the majority of conflicts.
Commit often.
Frequent smaller commits means smaller conflicts that are easier to resolve.
Put related changes into a single commit. Keep unrelated changes in different commits.
When you make a commit, you get to choose which files are included in the commit (remember staging). If you need to edit both HTML and CSS to get an effect, put both files into the commit at the same time.
Pull often.
Make sure you have the most recent work of your collaborators.
Push often.
Make sure your collaborators can get your work and are not tempted to redo it – causing wasted time twice: once when the redo the work and a second time when the two of you try to resolve the mess.
But… It’s best to make sure you only push “sane state” (things that are working reasonably) to the master branch (more on branches later).
5.2 Creating a GitHub Repository
We will use git to manage our local repository and use GitHub as a remote repository. The remote repository provides both a backup and a means of sharing (with another person or with yourself on another machine).
- Git: stage, commit
- GitHub: push, pull
Go to GitHub. Login and create a repository called
SampleRepo. In the repositories section you should see a button labeled “New”. Click that and fill in the required information. Choose to add a README file so that the repository is not empty. (This will create your first commit/snapshot.)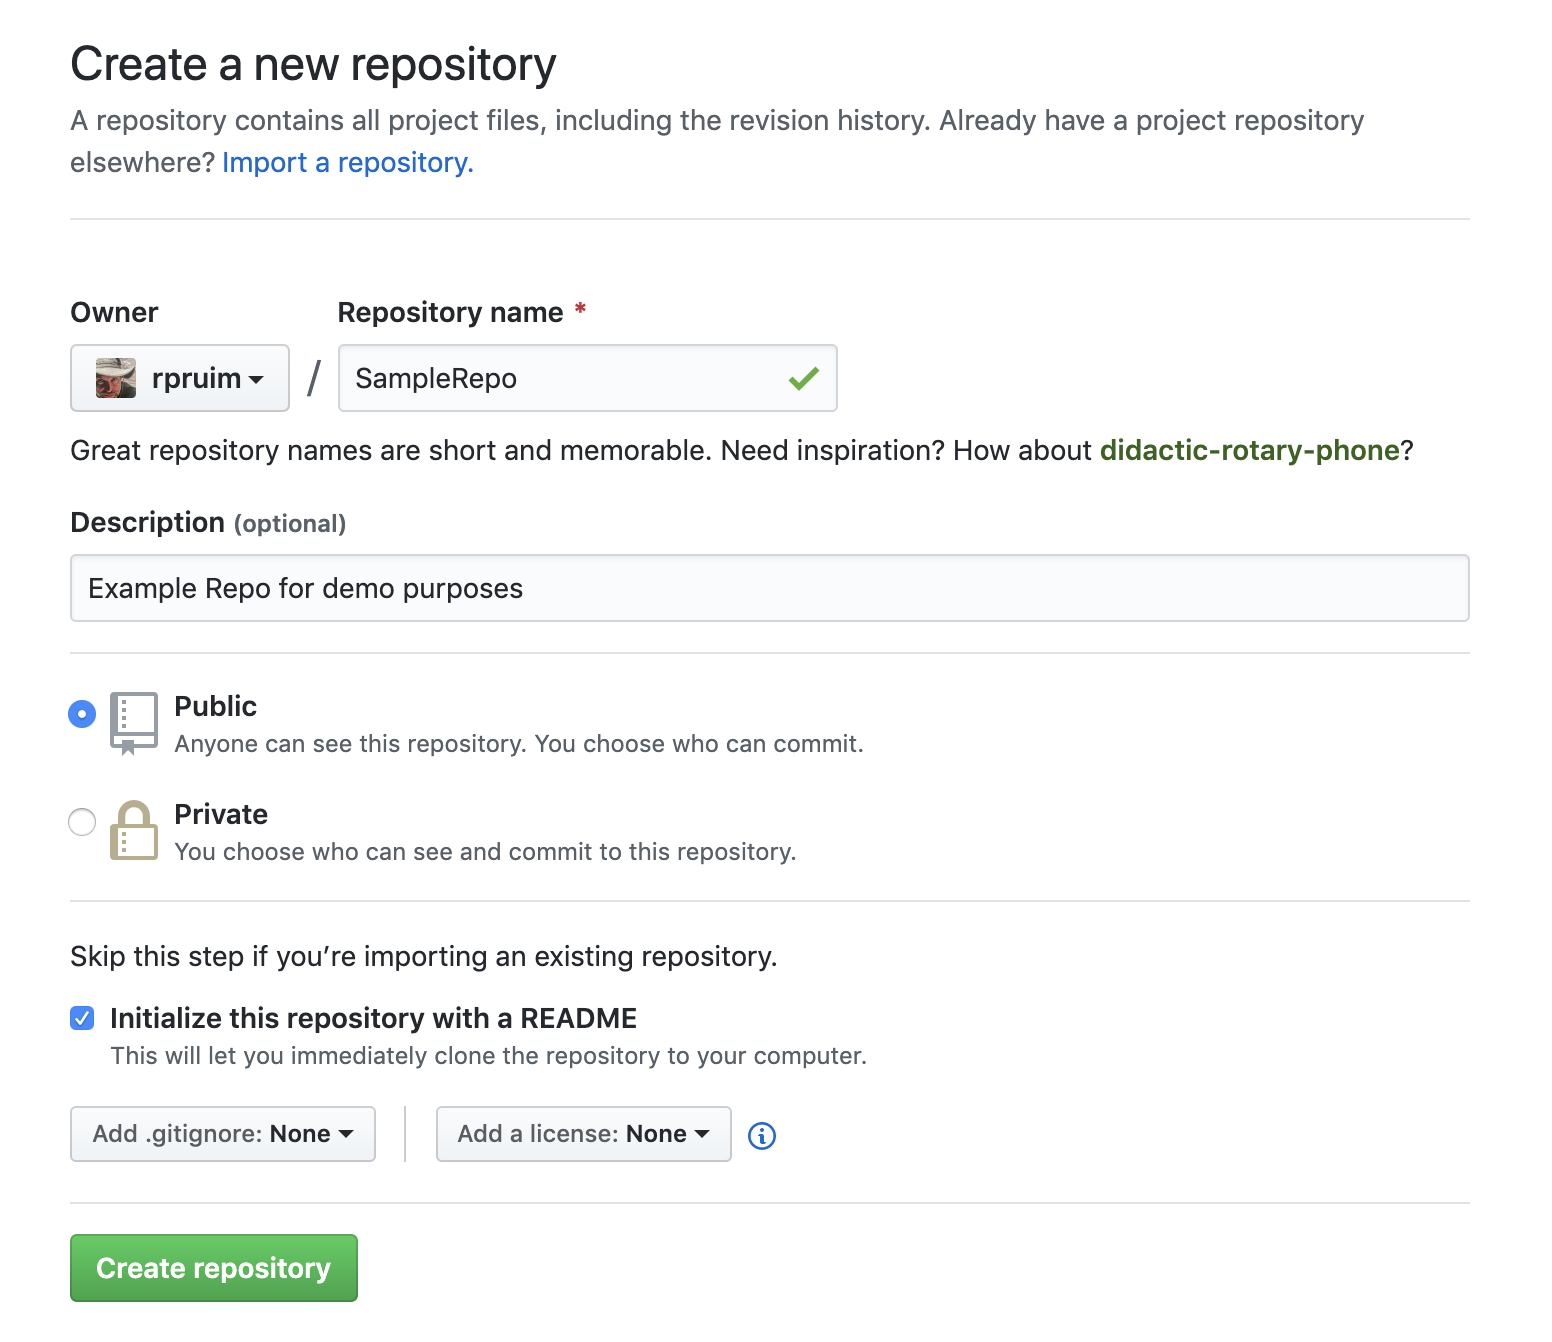
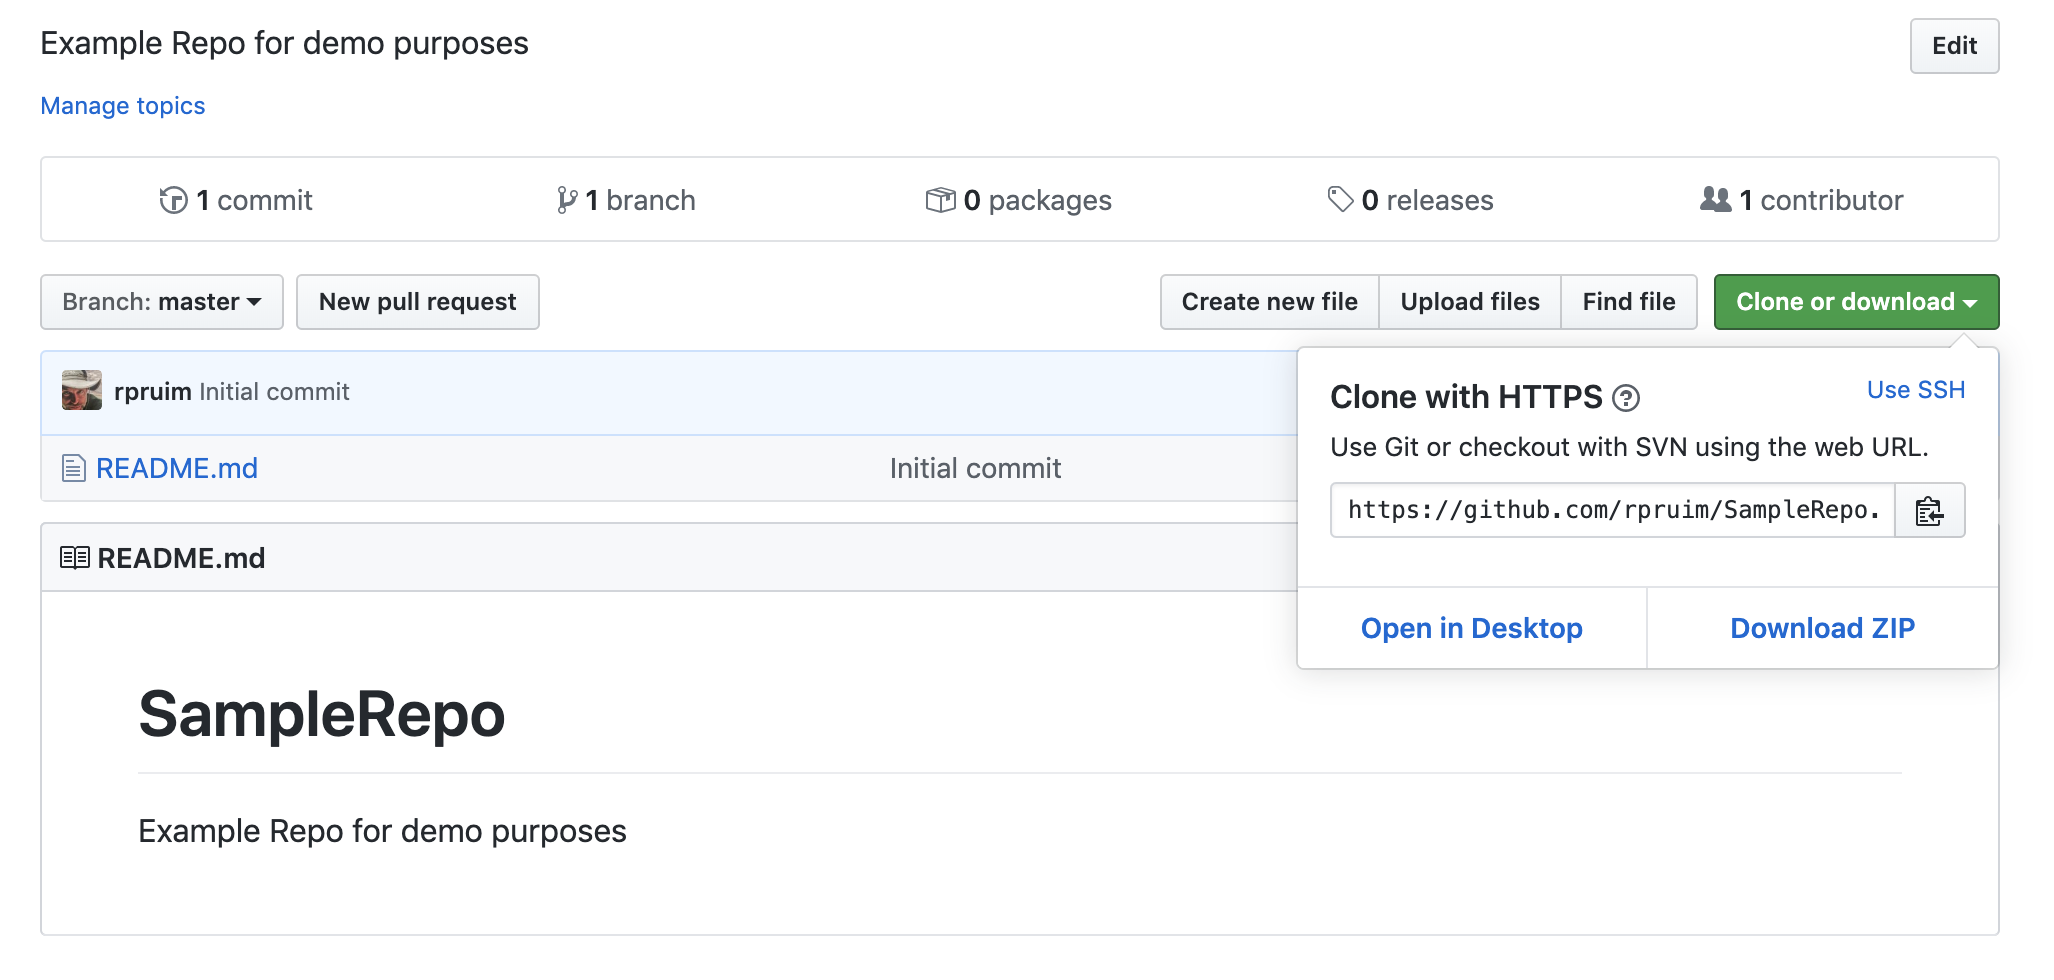
Next we need the URL for this repository. You can find that under “Clone or download” on the “Code” page for our repository. Copy this so we can paste it into Atom.
5.3 GitHub and Your Editor
Modern editors have nice GitHub integration features that allow us to clone repositories from GitHub, stage files, make and push our commits, and pull commits that others have made.
5.3.1 Atom
5.3.1.1 Cloning the Repository in Atom
To clone a GitHub repository, use the command palette (cmd-shift-p in macOS or ctrl-shift-p in Linux/Windows) to search for “clone”.
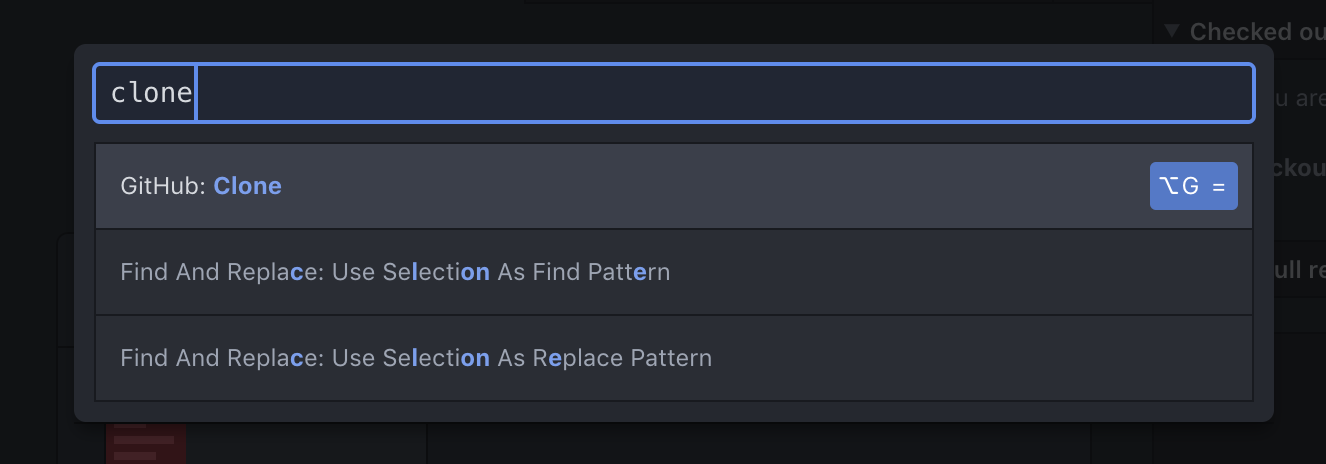
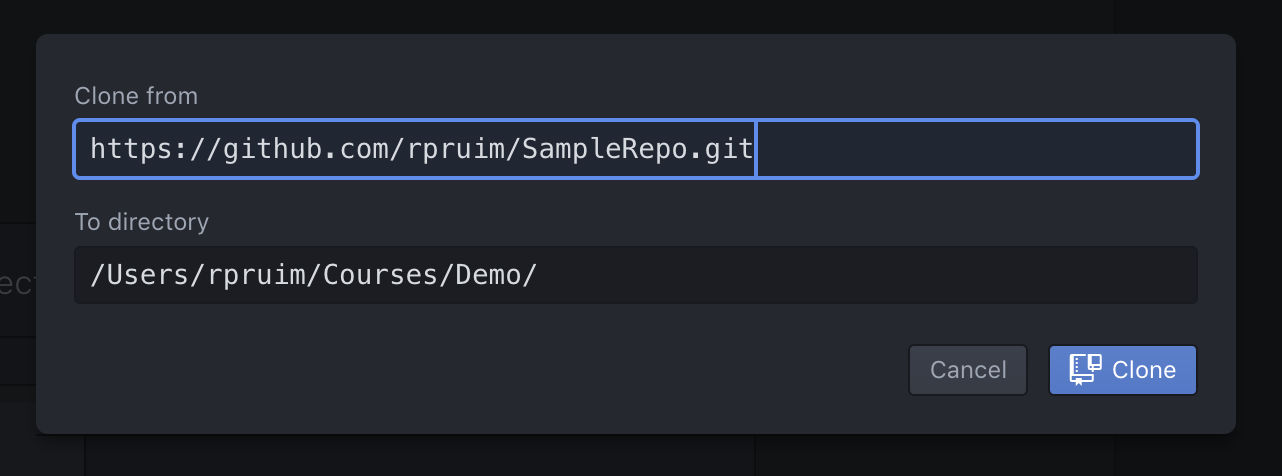
Click on “GitHub: Glone”. In the dialog, paste the URL of a repository and select a place to clone into. (Note: the name of the local repository folder doesn’t have to be the same as the name on GitHub – but having different names can be confusing.
The new project will be added to the Tree View. Any files that were on GitHub are now
on your local machine.  You have the complete snapshot.
5.3.1.2 Managing local changes in Atom
Open the git and GitHub tabs. (There are icons in at the bottom of the Atom window for this.) Make sure the git tab is visible.
Edit the
README.mdfile and save your changes.md stands for Markdown. Markdown is another Markup language (like HTML) but it designed so the the file is easier for people to read. It gets converted into HTML for rendering on GitHub.
Once you save your file, you will see that it is marked as modified in the git pane.
Create a new folder called
docs. In that folder, create an HTML file calledindex.html. Create a simple HTML file with some visible texzt and save the results.Once you save your file, you will see it pop up in the git pane as a file you can add to your repository.
If you click once on a filename in the git pane, you will see what has changed since the last commit. If you click twice, you can move it between “unstaged” and “staged”. Stage both of these files so they are ready to be commited. (You could also choose to stage one and push it, then stage the other and push it.)
Commit these to files.
You will first need to add a commit message. Then click on “commit to master”. (We’ll explain “master” shortly.)
Congratualtions, you have made your first git commit. You have a lovely snapshot for posterity.
5.3.1.3 Interacting with GitHub in Atom
Now let’s push this commit to GitHub.
Along the bottom of the Atom window, you should now see the word “Push”. Click on it to push your changes.
Note: Right clicking on this spot (which will say “Fetch” when there is nothing to push) gives you some other options, including “Pull”. If you try to push when a pull is required first, you will get a warning message about that.
Now navigate to the repo on GitHub. You should see your new and modified files are part of the GitHub repository.
5.3.2 VS Code
5.3.2.1 Cloning the Repository in VS Code
To clone a GitHub repository, start by opening the command palette (look in the View menu) and type “clone”
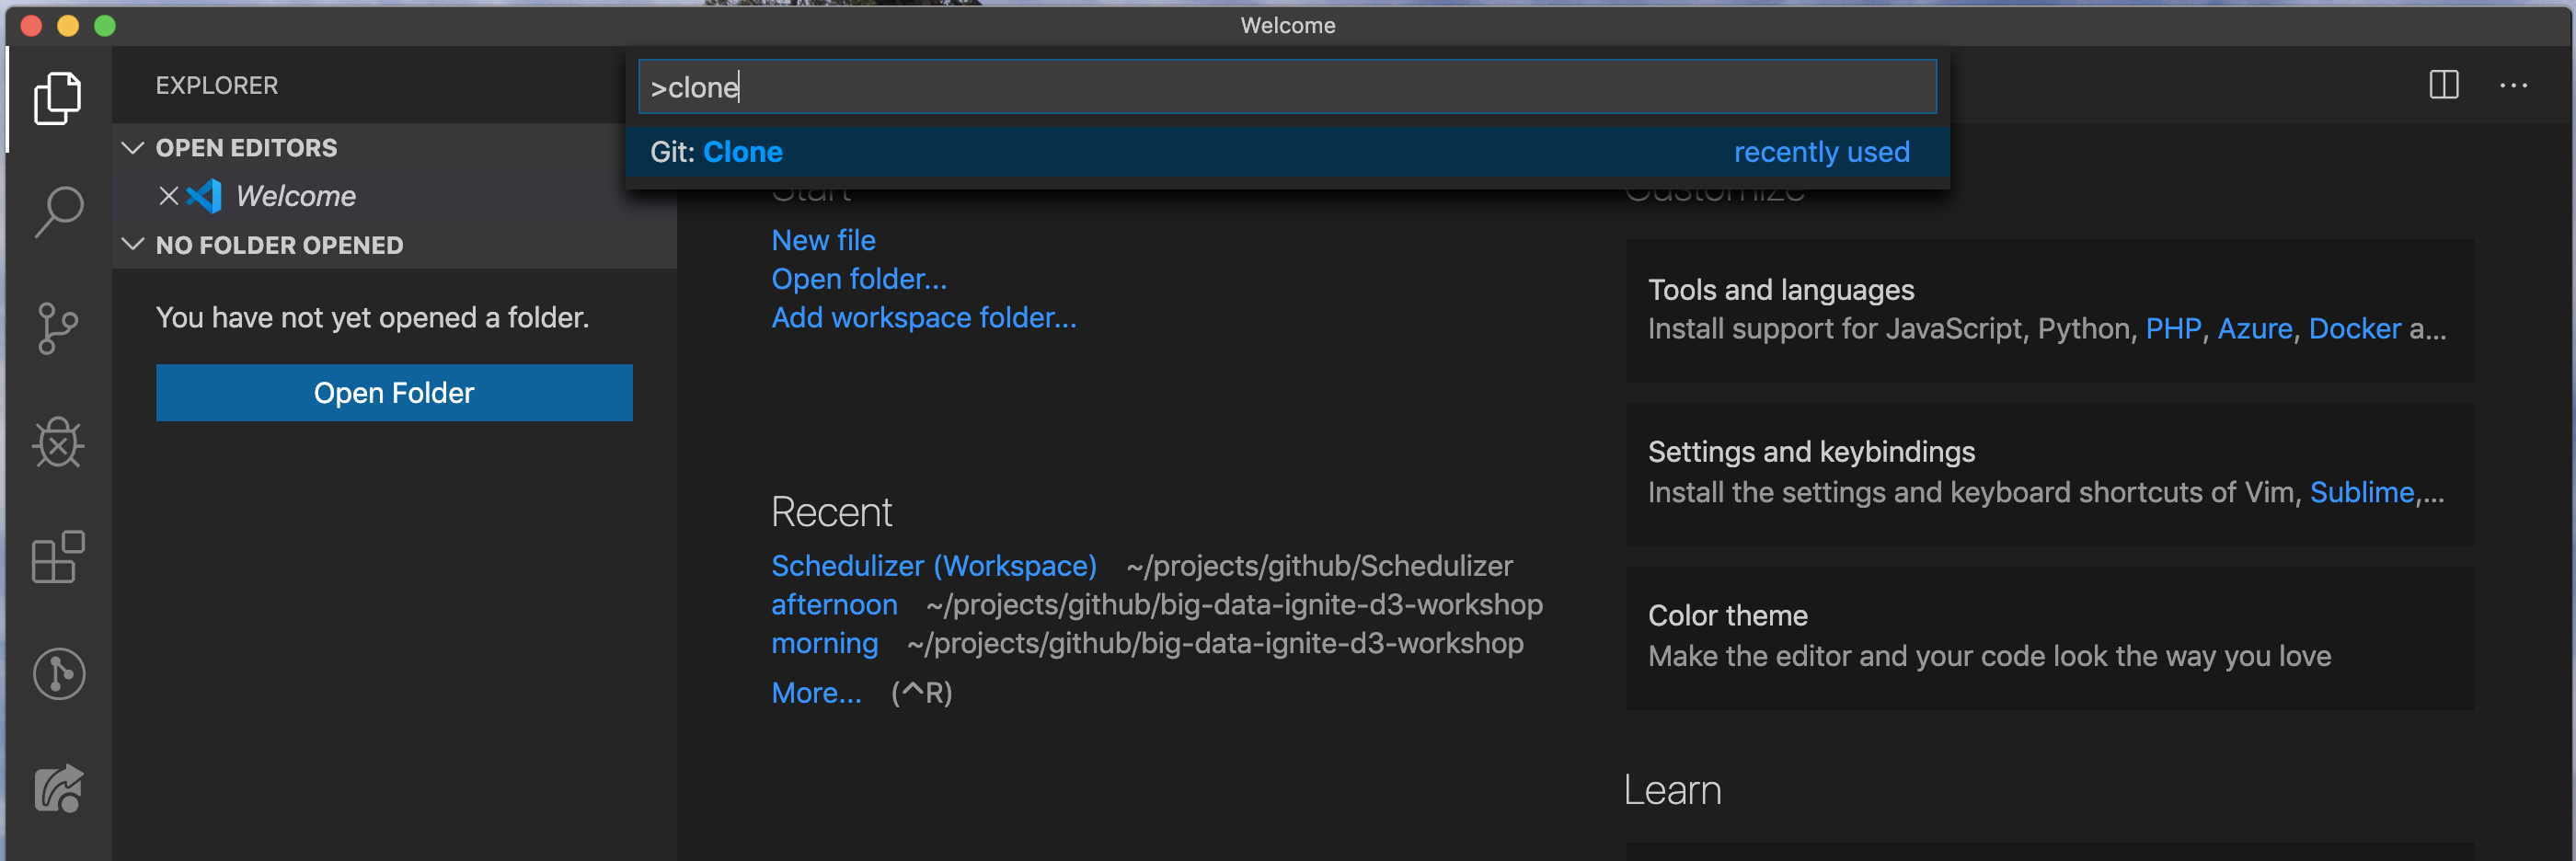
Paste in the GitHub URL for your repository

and hit Enter. You will be prompted to supply a folder in which to clone the repository, and then asked if you want to open the repository (either in the current window or in a new window):

5.3.2.2 Managing local changes in VS Code
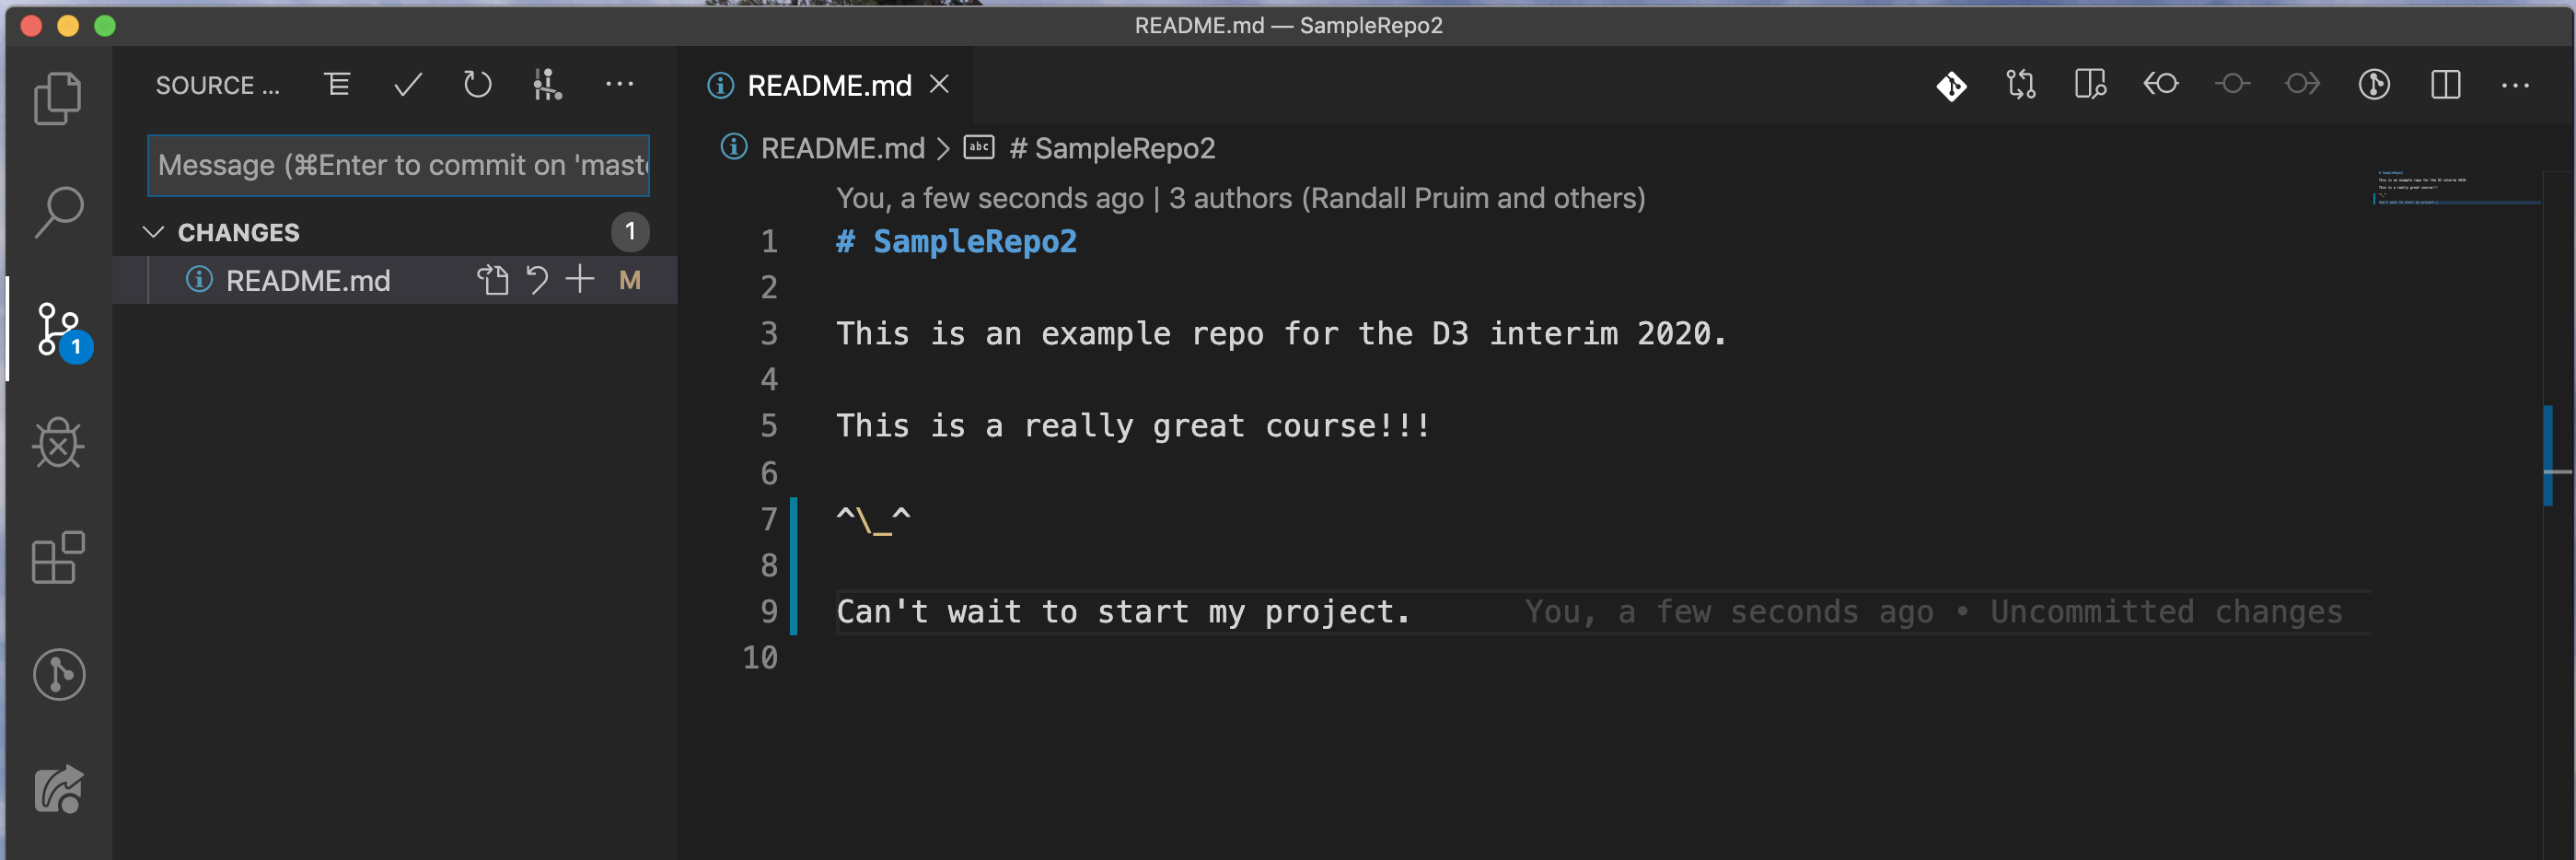
Git features are located in the source control pane in VS Code.
- Edit the
README.mdfile and save your changes.
md stands for Markdown. Markdown is another Markup language (like HTML) but it designed so the the file is easier for people to read. It gets converted into HTML for rendering on GitHub.
- Select the source control page. You will see
README.mdlisted in the “changes” section.
Create a new folder called
docs. In that folder, create an HTML file calledindex.html. Create a simple HTML file with some visible text and save the results.Once you save your file, you will see it appear in the “changes” section as well.
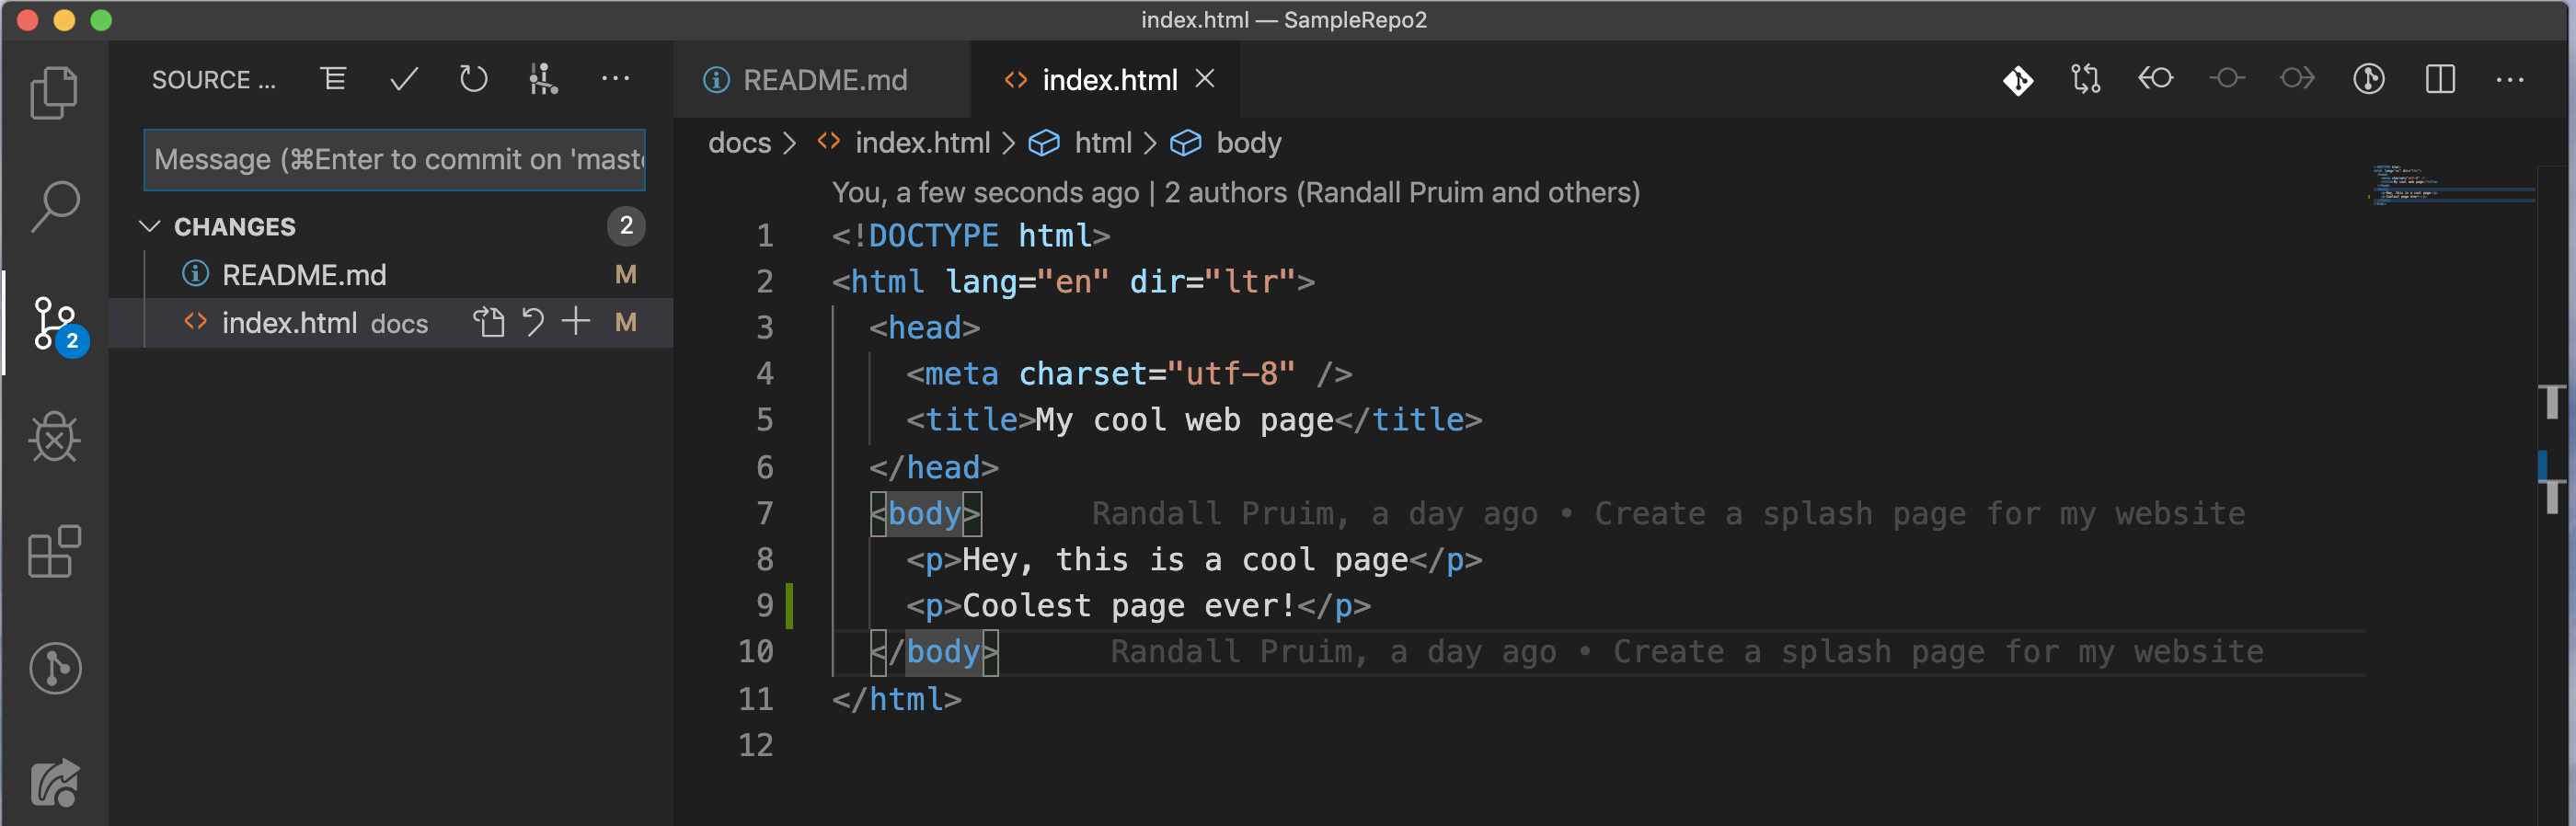
- If you click once on a filename in the git pane, you will see what has changed since the last commit. Click on the + symbol to stage one or both of the files.
- Edit the
Commit these to files.
You will first need to add a commit message. Then click on the check mark or use the keyboard short cut to commit your work.
Congratualtions, you have made your first git commit. You have a lovely snapshot for posterity.
5.3.2.3 Interacting with GitHub in VS Code
Now let’s push this commit to GitHub. Under more options (…), you will find push (and many other things).
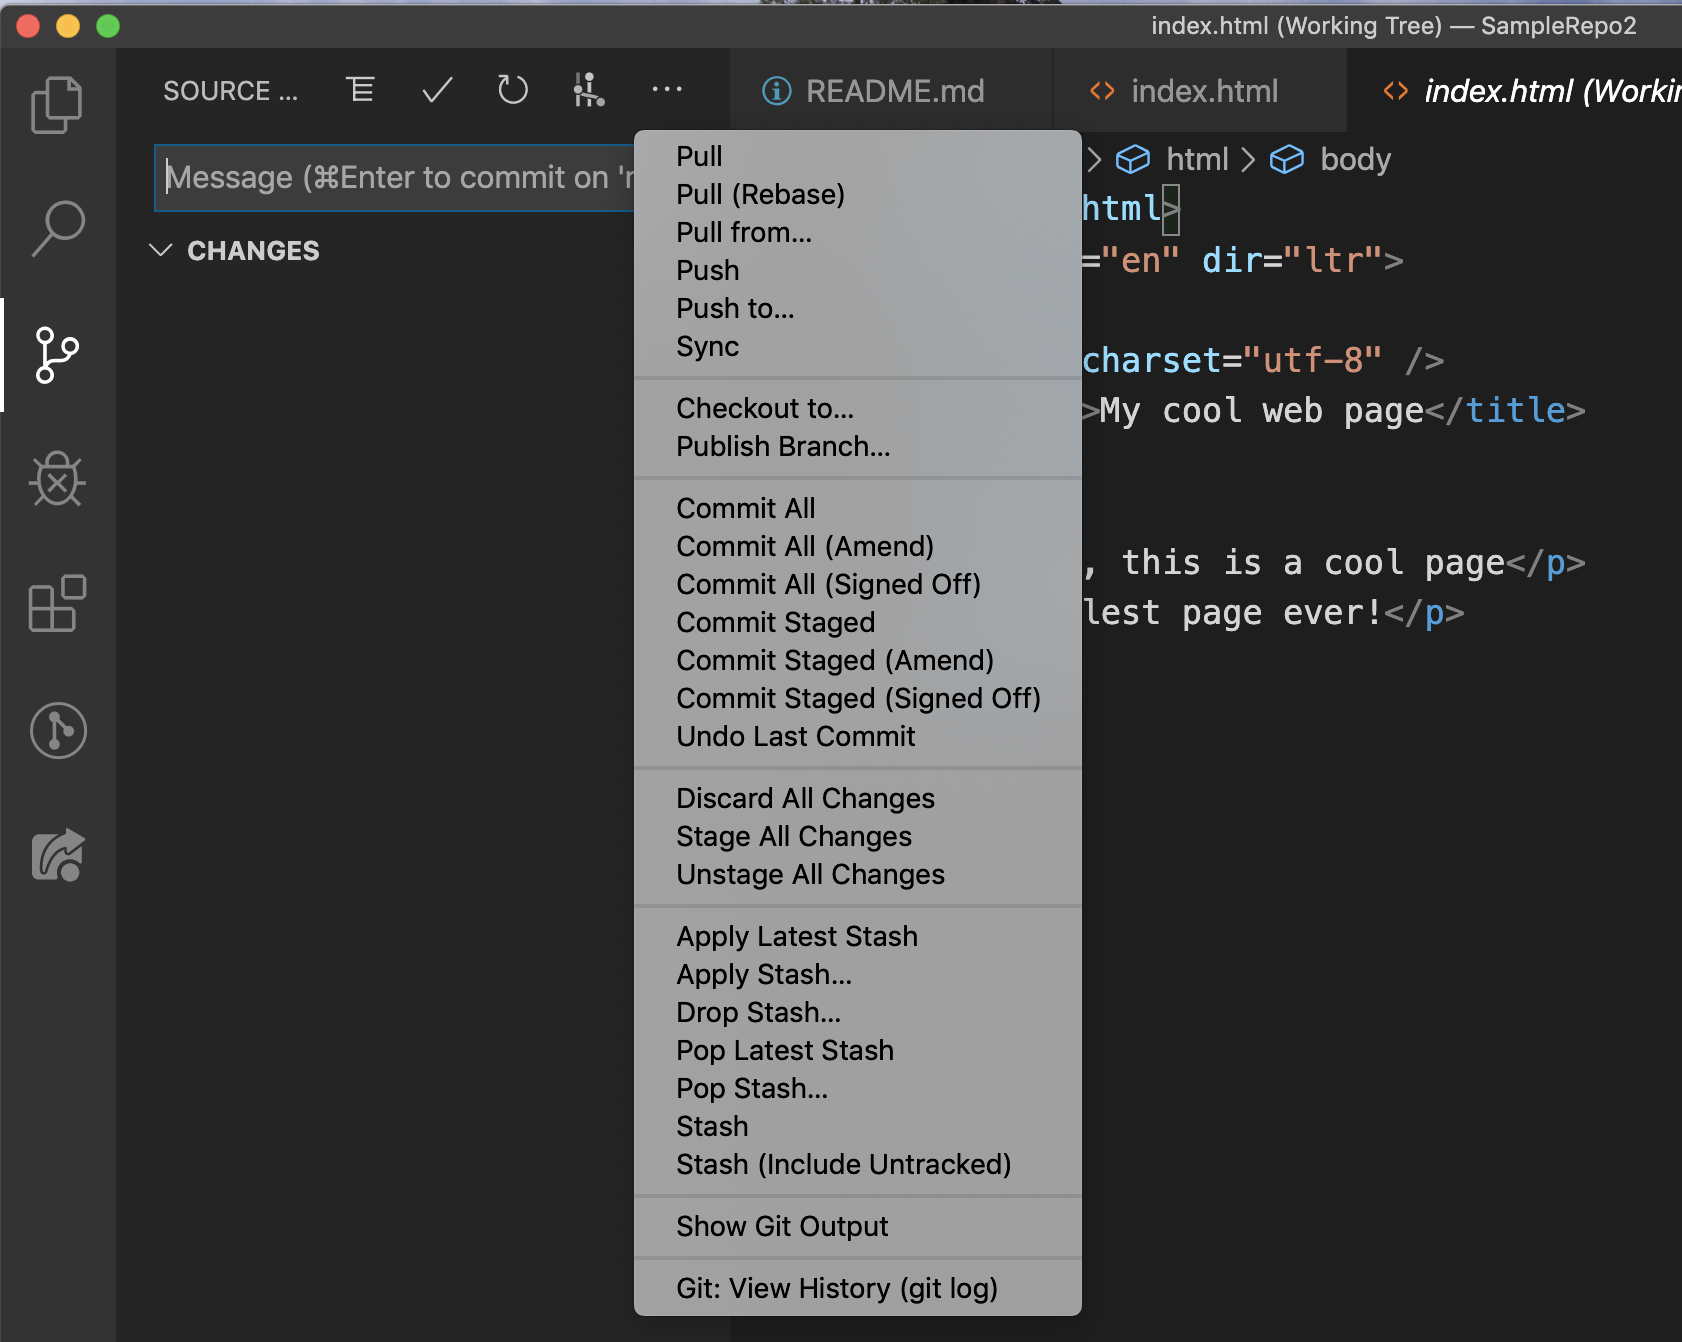
Click push to push your commit(s) to GitHub.
Note: You can configure VS Code so that it automatically pushes each time you do a commit.
Now navigate to the repo on GitHub. You should see your new and modified files are part of the GitHub repository.
There are several Git and GitHub related extensions available for VS Code. Feel free to explore and try some of them.
5.4 More GitHub Features
While we are at GitHub, let’s point out some other things you can do on GitHub.
Issues.
Click on the Issues tab. This is where you can create a to do list of sort. Issues can be created, opened and closed, and linked to particular commits or other issues. Issues can be assigned to people, tagged with keywords, given deadlines, etc. GitHub issues are a great way to keep track of work on a project.
Settings – Collaborators.
In settings you can control a number of features of your repository. In particular, you can add collaborators. Collaborators have permission to push to your repository. This will be a handy way to have a joint repository for your projects.
Note: Anyone may clone a public repository, they just can’t push to it. The owner of the repository controls who may push to the repository. Once a repository has been shared with you, you can clone it in Atom just like you do with your own repositories.
Settings – GitHub Pages (in the Options section)
Now that you have a
docsfolder with a file in it, you can choose to have thedocsfolder served as a website. Go to the GitHub pages section and select “master branch /docs folder”. You will be told the URL for your website, and after a few minutes it will be live and you (and anyone else with the URL) can view the site.
Set up GitHub pages. Wait a minute or two. Then view your publicly available website.
If a folder has anindex.htmlfile, it will be served when someone navigates to that folder. If there is not an index for the folder, then a directory listing is shown instead.
5.5 Git branches
Let’s suppose you have a stable version of your project and you want to try adding something new. While you are working on it, you want others to still see your website in its current, stable state. And if things don’t work out for you new features, you want to be able to abandon the work and return you where you were before. This is what git branching is for.
The main, stable, public-facing branch is the “master” branch. But you can create as many other branches as you like. And if things work out, you can merge the work from those experimental or development branches back into your master branch.
Because you can have many branches going at once, things can get a little bit complicated, so let’s start by describing one simple scenario – working on a development version until it is ready, then merging it into master.
Create a new branch called
development.Do all your work on this branch. Committing and pushing as you go along.
Once you are happy with the development branch, let master “catch up” to development by merging.
Let’s give this a try in your new repository.
5.5.1 Branches in Atom
Let’s add to our home page in a development branch.
- Create a new branch by clicking on “master” near the bottom of the Atom window and then clicking on “New Branch”

Name the branch
development.Now edit your
index.htmlfile and commit and push your changes.Your GitHub pages remains unchanged (because it only reflects what is in the
/docsfolder on the master branch. (Check this out.)But you can view your file locally – because locally you are in the development branch. Do this until you are happy with the changes. Then commit and “publish”. (Publishing is pushing to a new branch that doesn’t yet exist on GitHub. This will create a development branch there and push to it.)
Now click on “development” (where master used to be) and change it back to master. You will see that your
index.htmlfile goes back to the way it was. You can toggle back and forth between branches at any moment.
To get the changes from the development branch into the master branch we need to do a merge.
If you haven’t already, install the git-plus Atom package.
Make sure the master branch is selected.
Open the command palette and type “merge”.
Select “Git Plus: Merge” (probably the first thing on the list).
Select the development branch (the one we want to merge into master).
Voila, the changes from development are now in master! At least locally.
- If you want those changes reflected on GitHub, do a push. Now your new homepage will be available online for the world to see.
5.5.2 Branches in VS Code
The current branch is displayed in the bottom left corner of VS Code.
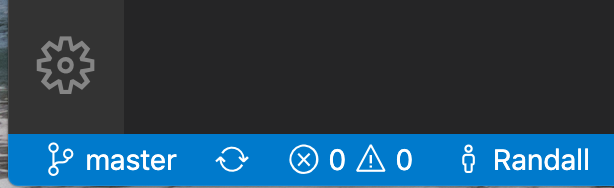
If you click on “master” you will open a menu that allows you to change branches, or to create a new branch.
Let’s add to our home page in a development branch.
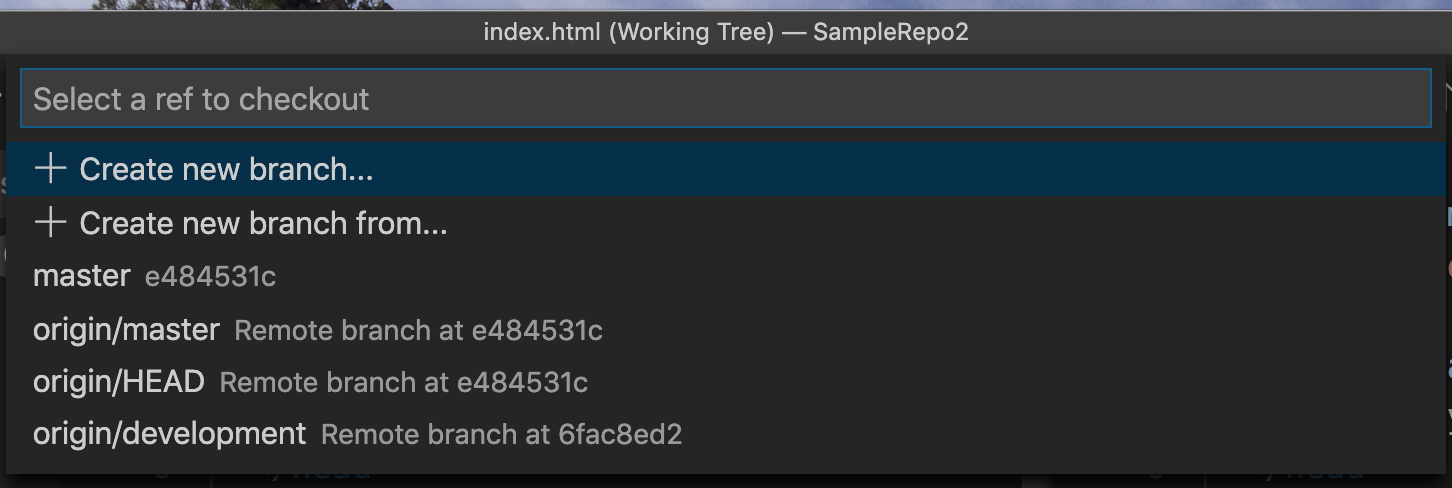
Create a new branch by clicking on “master” near the bottom of the VS Code window and then clicking on “Create New Branch”
Name the branch
development.Now edit your
index.htmlfile and commit and push your changes.Your GitHub pages remains unchanged (because it only reflects what is in the
/docsfolder on the master branch. (Check this out.)But you can view your file locally – because locally you are in the development branch. Do this until you are happy with the changes. Then commit your changes.
Finally, we need to “publish” this branch so that there is a version of the new branch on GitHub as well as on our local machine. In the more options menu, select “publish branch”. This will create a development branch there and push to it.
Now click on “development” (where master used to be) and change it back to master. You will see that your
index.htmlfile goes back to the way it was. You can toggle back and forth between branches at any moment.
To get the changes from the development branch into the master branch we need to do a merge.
Make sure the master branch is selected.
Open the command palette and type “merge”.
Select “Git: Merge Branch…” (probably the first thing on the list).
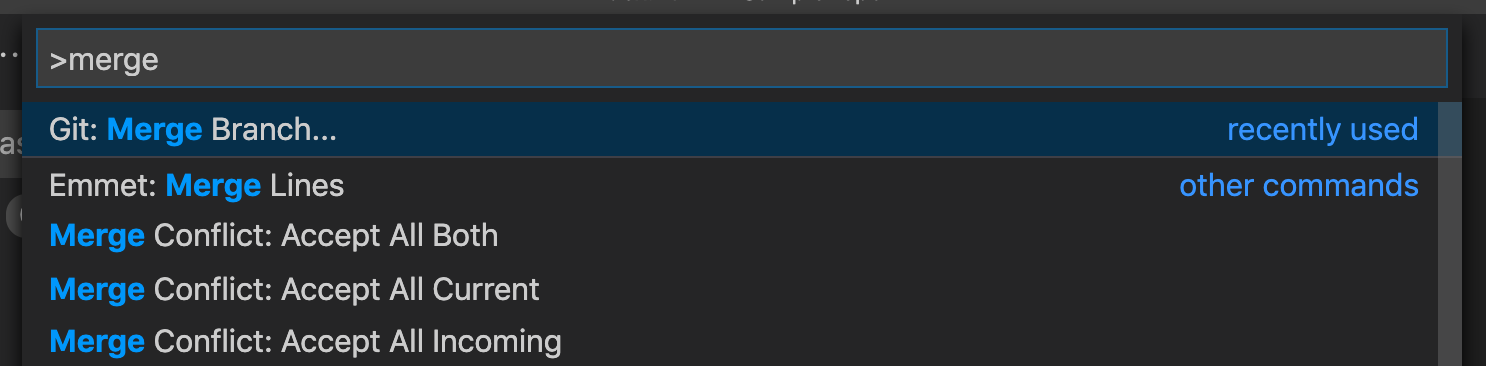
Select the development branch (the one we want to merge into master).
Voila, the changes from development are now in master! At least locally.
- If you want those changes reflected on GitHub, do a push. Now your new homepage will be available online for the world to see.
You can learn more about managing branches in VS Code here.
5.6 More about Branches
There is more to branches than this simple (but very useful use case). To learn more see
Git Branches in a Nutshell – the folks from Git explain git branches. Lots of diagrams.
Learn Git Branching – a tutorial with a great way to visualize what is happening in git. You will learn the command line commands for working with git, but you should be able to see how they relate to the things we have done in Atom.
5.7 Using Git/GitHub on Your Own Machine
You can use Git/GitHub on your own machine and use it to keep things in sync between your personal machine and the lab machines. The biggest challenge is getting git installed on your machine, especially if it a Windows machine. I hope this has gotten easier since the last time I helped a PC user install git. Anyway, here are some instructions: